In my last post, I have explained how to address different interest groups by using the step-by-step-guide to collect information about the users’ interests and plans.
Additionally, we can add some more informational content pages about different event types (wedding, birthday, business event) to our site to see what the users are interested in.
If a user is reading a longer content section about weddings, birthday parties or business events and why the photo booth is the right gadget for the event, he is probably interested in this specific topic, but he could also look at the different pages just by curiosity - however, we cannot be a 100 % sure. To prevent the user from being placed in the wrong interest group, it is important to be really sure that he is seriously interested in a specific topic and event type. To do so, the best way is to take him to the step-by-step-guide.
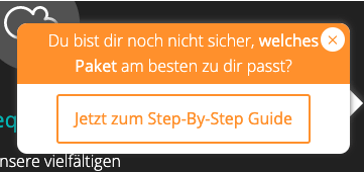
To make the user aware of the guide, a popup should be displayed.
The photo booth website (described in the previous post, see https://wuerzburg-fotobox.de/) has three content pages describing wedding, birthday and business event use cases. All pages comprise about 500 words of content. An average reader needs about 2.5 minutes to read the entire text. But let’s be honest - most people are only skimming the text.
Let's assume that if it takes a user 30 seconds or more to scroll down the page to 70%, he is interested in the topic and he might plan to get a photo booth for this event type. To measure this data, we are using Google Tag Manager.
Create a new trigger for the HTML tag, which is used in Google Optimize later to show the popup.
Go to the Triggers Section in Google Tag Manager and create a trigger for Scroll Depth and set it to 70% vertical scroll depth.
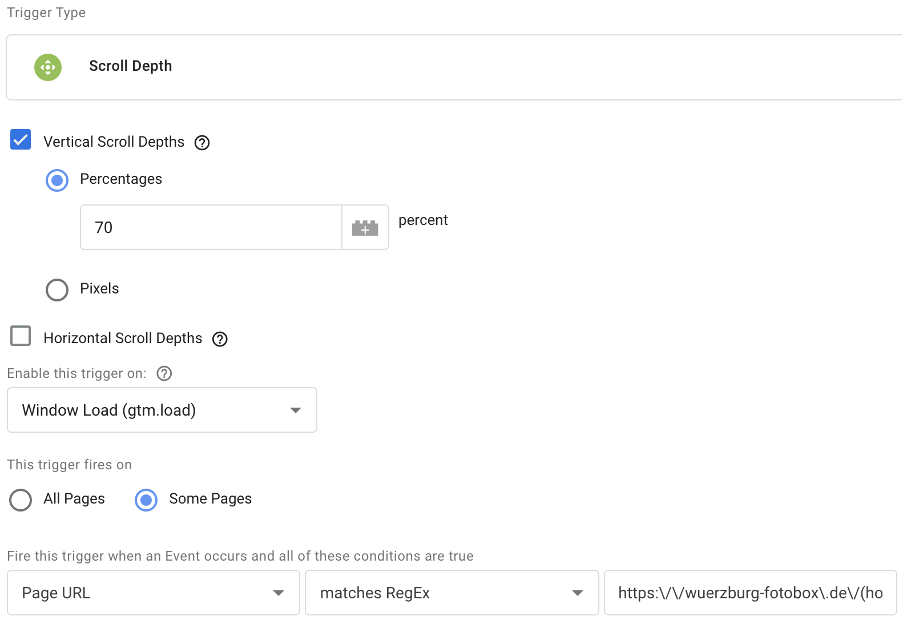
Set the trigger to fire only on the content pages /hochzeit, /geburtstag and /business-event (Regex https:\/\/wuerzburg-fotobox\.de\/(hochzeit|geburtstag|business-event)\/)
To track the time the user dwells on the content pages, create a new Custom JavaScript Variable.

function(){
  var now = new Date();
  var start = google_tag_manager[{{Container ID}}].dataLayer.get("gtm.start")
  return Math.floor((now-start)/1000)
}
gtm.start (see var start) is the timestamp when Google Task Manager was loaded on the page. var now contains the current timestamp. If you subtract both from each other, you get the time on page.
Go back to the Scroll Depth trigger we have created before and add an additional condition.

Now, the trigger only fires if it took the user 30 seconds or more to reach the 70% scroll depth.
When a user has read the content page, the popup which links to the step-by-step-guide should be shown on the following page. However, the DataLayer, where GTM stores all the values and tags, is not persistent, meaning that the values are no longer available on the next page. For this reason, we use the SessionStorage, which is persistent for the entire browser session.
Create a Custom HTML-Tag in GTM and set the trigger to Scroll Depth - SEO Page (the Scroll Depth Trigger we created before).
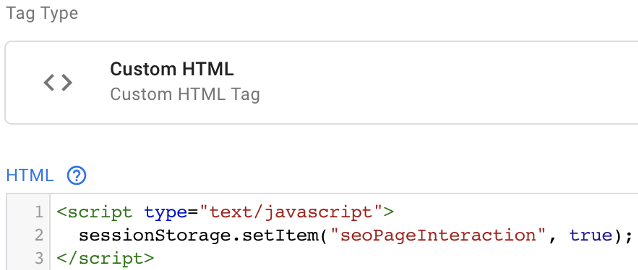
sessionStorage.setItem("seoPageInteraction", true);

With this code snippet, we set seoPageInteraction to true to use it later in Google Optimize.
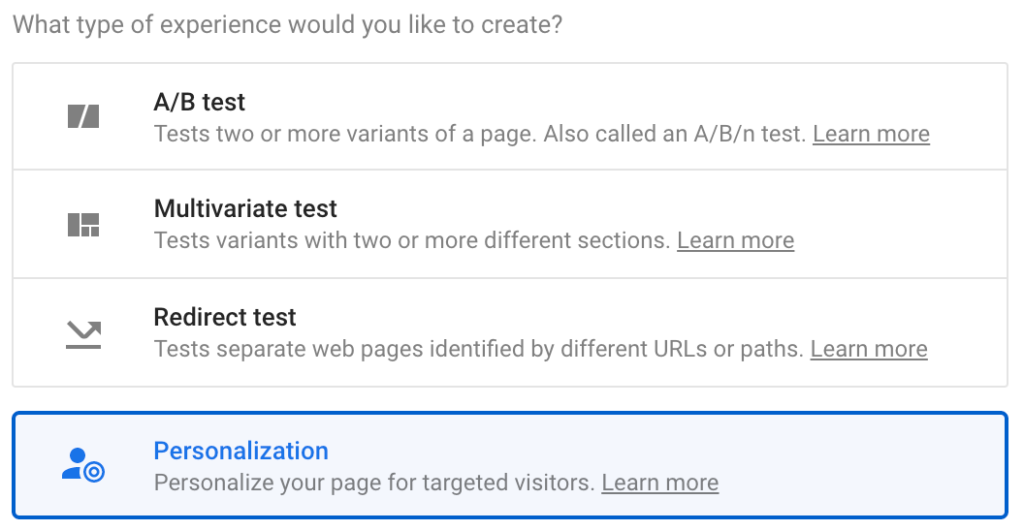
Go to Google Optimize and create a new personalization.
Set the homepage as editor page and go to the editor.
Since we are using position: fixed for our pop up (see preview above) it doesn’t really matter which element you click on to insert HTML.
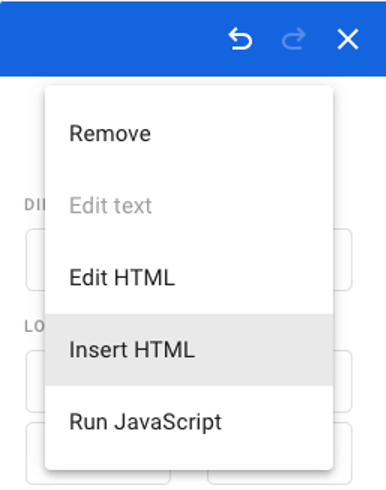
The following HTML and CSS code builds the popup that links to the step-by-step-guide.
<div id="seoPopup">
    <div id="seoPopupText">
        Du bist dir noch nicht sicher, <b>welches Paket</b> am besten zu
        dir passt?</div>
        <a style="background-color: white; color: rgb(255, 153, 20); position: absolute; border-radius: 14px; top: 0px; right: 5px; width: 24px; height: 24px; line-height: 24px; text-align: center; font-size: 18px; margin-top: 4px;" id="seoPopup-top-close-button" alt="Schließen">×</a>
        <a id="seoPopupLink" href="https://wuerzburg-fotobox.de/step-by-step-guide/schritt-1/" alt="Step-By-Step Guide">
            <b>Jetzt zum Step-By-Step Guide</b>
        </a>
 </div>
#seoPopup {
   max-width: 330px;
   border-radius: 10px;
   background-color: #ffffff;
   align-items: center;
   text-align: center;
   margin: 5px;
   position: fixed;
   right: 10px;
   bottom: 100px;
   z-index: 100;
   box-shadow: 0px -2px 6px #5c5c5c;
   }

#seoPopupText {
   background-color: #ff9914;
   border-top-left-radius: 10px;
   border-top-right-radius: 10px;
   color: #ffffff;
   padding-top: 5px 30px;
}

#seoPopupLink {
   border: 2px solid #ff9914;
   background-color: #ffffff;
   color: #ff9914;
   border-radius: 3px;
   margin-top: 10px 5px;
}
The popup should be shown on all pages except the contact page and the content pages itself (/hochzeit, /geburtstag, /business-event).

The popup should only be shown if seoPageInteraction equals true (remembered we have set this before) and if Step 1 (event type wedding [hochzeit], birthday [geburtstag] and business event) isn’t set yet.
Go to the Audience Targeting section in Google Optimize and add a rule. Choose Custom JavaScript as rule type.
Click on Create New and add the following code to get the seoPageInteraction value from the sessionStorage.
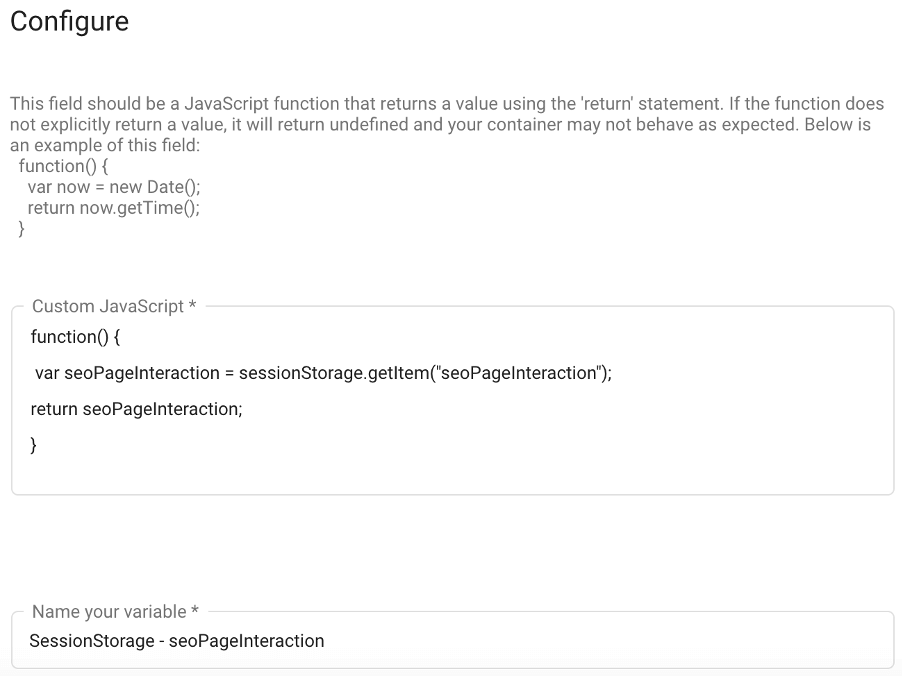
function() {
    var seoPageInteraction = sessionStorage.getItem("seoPageInteraction");
    return seoPageInteraction;
}
If seoPageInteraction equals true, the popup should be shown.

If the user has already gone through the step-by-step-guide, there are already key-value pairs set for Step 1, 2 and 3. In this case, there’s no reason to ask the user again to click through the guide.

To check if those values are already set, we have to create another Custom JavaScript in Google Optimize.
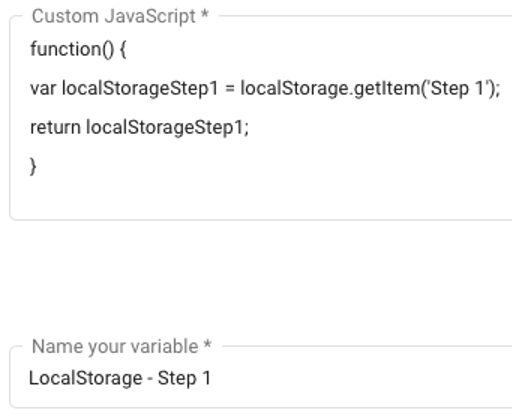
function() {
    var localStorageStep1 = localStorage.getItem('Step 1');
    return localStorageStep1;
}
Add all possible values Step 1 could have (In my case Hochzeit [wedding], Geburtstag [birthday] and Business Event) and set it to does not equal.

Great! The popup will be shown whenever the user reads the page (or at least took 30 seconds and 70% scroll depth) and he didn’t go through the guide before.
But wait … Isn't it just super annoying for the user if a popup pops up on every following page until he has finally clicked through the guide? – Probably yes!
To avoid annoyed visitors, we have to give them a chance to close the popup and remember it for the next pages.
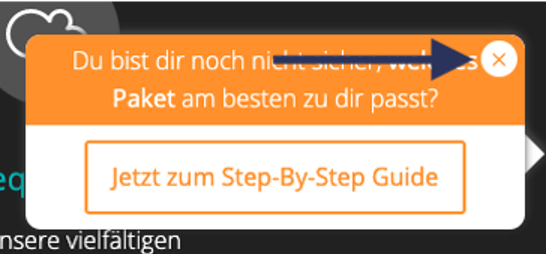
Go again to the editor in Google Optimize where we have added the HTML code before. Go to the seoPopup code, click Edit Element and Run JavaScript to add JavaScript.
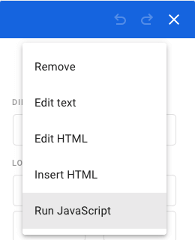
The following code hides the popup when  was clicked (
display: none) and sets seoPopup-closed equals true to the sessionStorage.
jQuery('#seoPopup-top-close-button').click(function() {
   jQuery("#seoPopup").css("display","none");
   jQuery("#seoPopUpPointer").css("display","none");
   sessionStorage.setItem("seoPopup-closed", "true");
});
If a user has clicked the close button, the popup remains hidden for the rest of the session. But in the next session, the popup can be shown again if seoPageInteraction equals true.
Go again to Audience Targeting in Google Optimize and add a third rule. Create another Custom JavaScript to get the seoPopup-closed value from the sessionStorage.
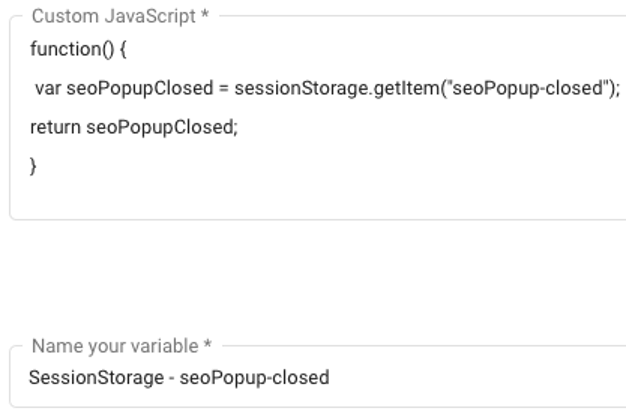
When the button was clicked (equals true), the popup remains hidden. The other way round, this means it should be displayed if sessionStorage doesn't equal true.

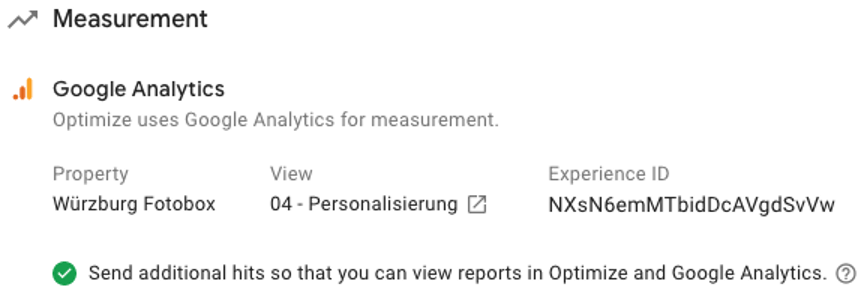
To keep track of how many visitors have seen the popup turn on the Google Analytics measurement.
Before going live, we have to check if everything works fine. Turn on the debug mode under Site Changes > Preview.

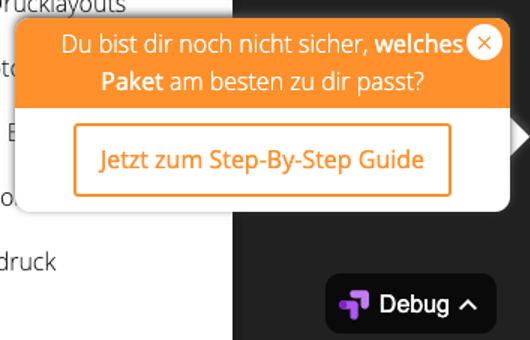
Ta-da!! All conditions are valid and the experience was applied!